Last night I headed over to Tom Ford at Harvery Nicols to have my makeup professionally done by one of their makeup artists. As I was celebrating my 6th year wedding anniversary with my Prince Charming, I could not have thought of a better time to treat myself to the Tom Ford makeup experience.
I have had my eyes on purchasing some Tom Ford makeup products for a long time. With the packaging and the bold colour lipsticks, it’s been so tempting. Usually I am always rushing by the Tom Ford counter when I’m out with my kids and that’s never the best time to do makeup shopping.
Firstly, I wish I could get my makeup done by professional every day. I couldn’t help but ask a million questions about all the products. An hour of away from the children was a treat, although I didn’t think it would be appropriate to fall of to sleep during my makeup session!
I totally feel in love with all eyeshadows and couldn’t help buy the nude Tom Ford lipstick called “Nubile” to complete my everyday look. I was however really disappointed with the foundation coverage and concealer. As a sleep deprived mother I need a heavier coverage under the eyes!
Pictured is the final look created by Amanda, at Tom Ford.
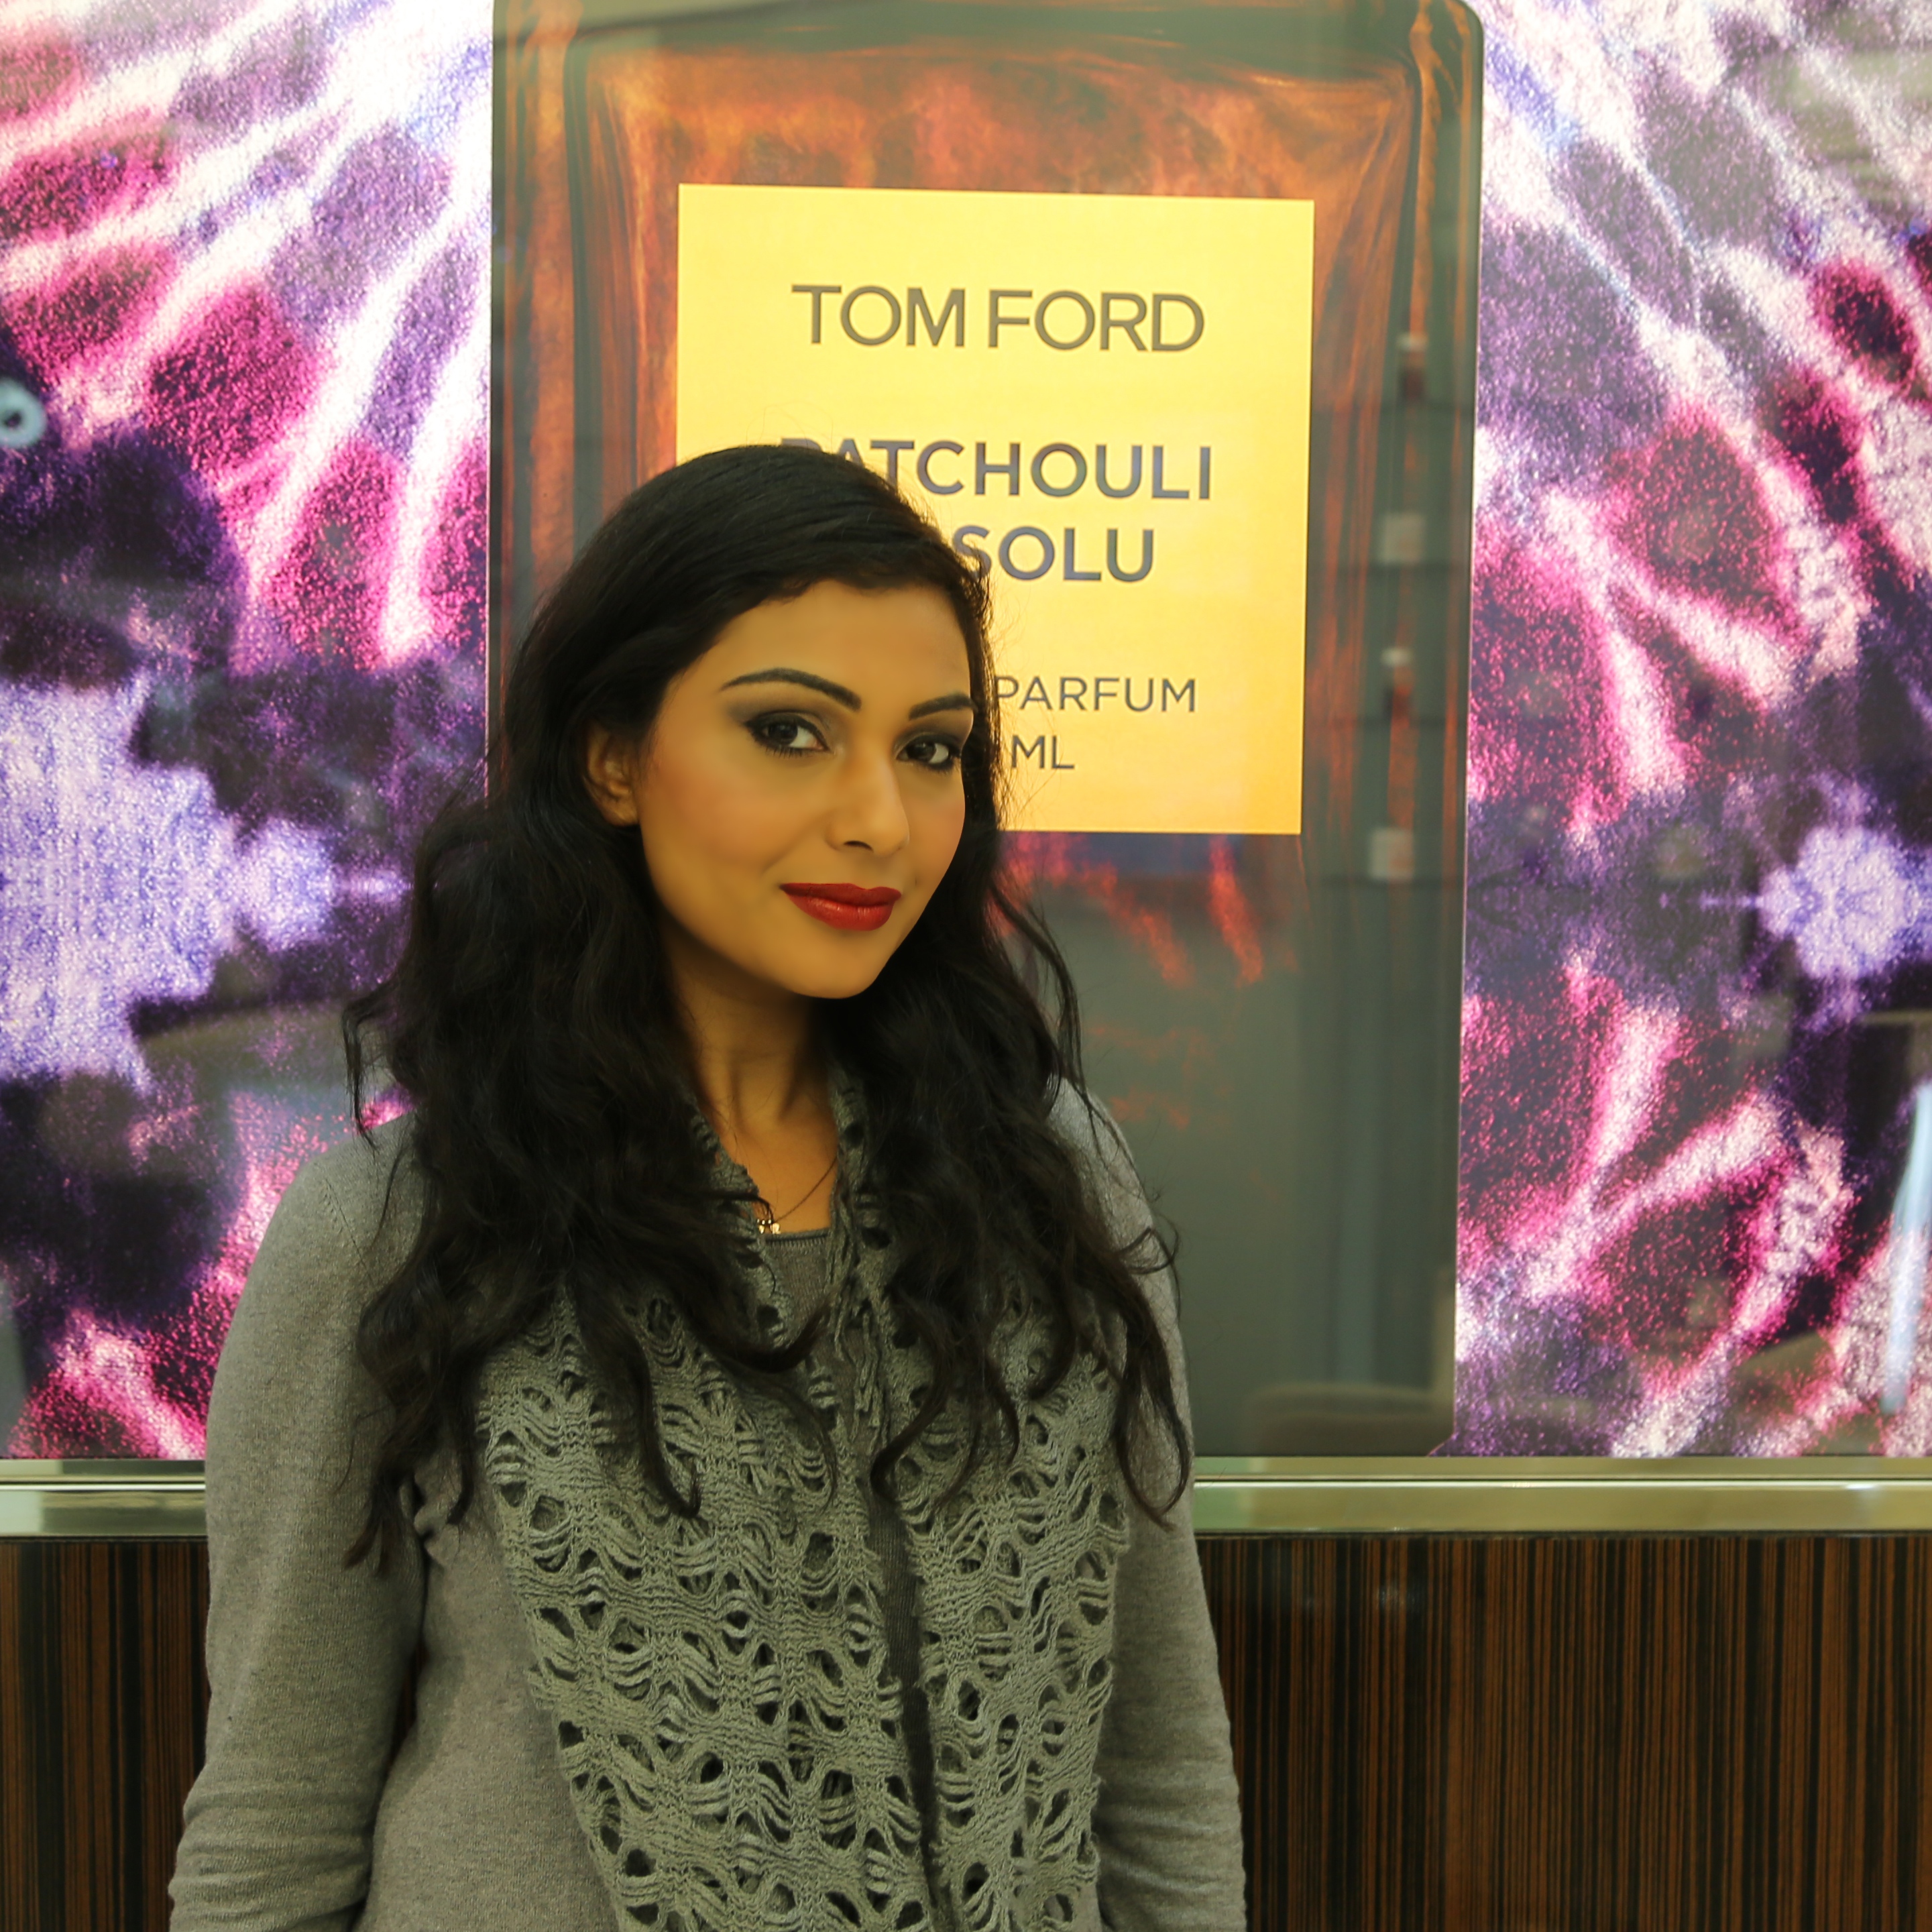
In order to re-create this look you will need to follow the steps below:
- Apply “Traceless Perfecting Foundation” to the face starting form the inside and working your way to the outer corners, blending down into the neck. In order to achieve a seamless look head to any Tom Ford counter where a makeup artist will be able to match your skin to the right shade. Our tip is to make sure that your foundation matches the shade of your neck and body so that when your makeup look is finished your face tone matches the rest of your body. Sabrina matched to the colour “Sienna Antelope”.
- Use the “Shade and Illuminate” palette in the shade “Intensity One” applying the dark cream to the hollows of your cheeks. A good way to find the correct place to apply the contour is by sucking in your cheeks and applying the product to the sunken area. You can then use the illuminating sheen on the top of your cheekbones as a highlight.
- Then to set the foundation take the “Translucent Finishing Powder” in the shade “Sahara Dusk” and lightly dust it over the face and neck.
- You will need two “Eye Colour Quads” in “Titanium Smoke” and “Silver Topaz”. Start by taking the bottom left hand shadow in the “Silver Topaz” palette and blend the colour into the inner lid and crease. Then take the bottom right hand colour in the “Silver Topaz” palette and blend into the crease and outer corners of the lid. Then take the bottom left shadow in the “Titanium Smoke” palette and blend it into the outer crease starting from the outside inwards. Then apply the top left colour in the “Silver Topaz” palette onto the whole lid by lighting pressing the pigment into the lid. You can then highlight the tearduct with the product.
- Next take the “Brow Sculptor” in the shade “Espresso” and with light feather like strokes push the wax into the brow. Make sure to start penciling in the brow only three quarters of the way so that your brows look natural, keeping your face soft.
- Use the “Eye Defining Pen” in the shade “Deeper” to draw a line across the top of the eyelid. Use the thin end to first define the line, then go back and darken the line with the thick end. You can add a flick to the outer corners of the eyelids to create a more dramatic effect.
- Take the “Eye Defining Pencil” in the shade “Onyx” and apply it to the lower waterline.
- You can then take a small tapered brush and blend the eyeliner with the bottom left hand shadow in the “Silver Topaz” palette.
- Then add lashings of the “Extreme Mascara” in the colour “Raven”. You can curl your eyelashes before to create a more intense effect. Remember applying light coatings of mascara more than once is more effective than one thick layer.
- To brighten the under eyes and clean up any fallen product take the “Concealer Pen” in “Medium Deep” and apply it to the under eyes. For best results pat the concealer with your ring finger as the heat of your hand warms the product helping it to blend.
- Next, apply the “Cheek Colour” in the shade “Ravish” to the apples of the cheek. A good way to find the correct place to apply blusher is to smile and apply the product to the highest point of the cheeks.
- Then sweep “Bronzing Powder” in “Gold Dust” for an added glow over the face.
- Finally, take “Lipstick” in “Scarlett Rouge” and apply it to your lips with a lip brush for precision!
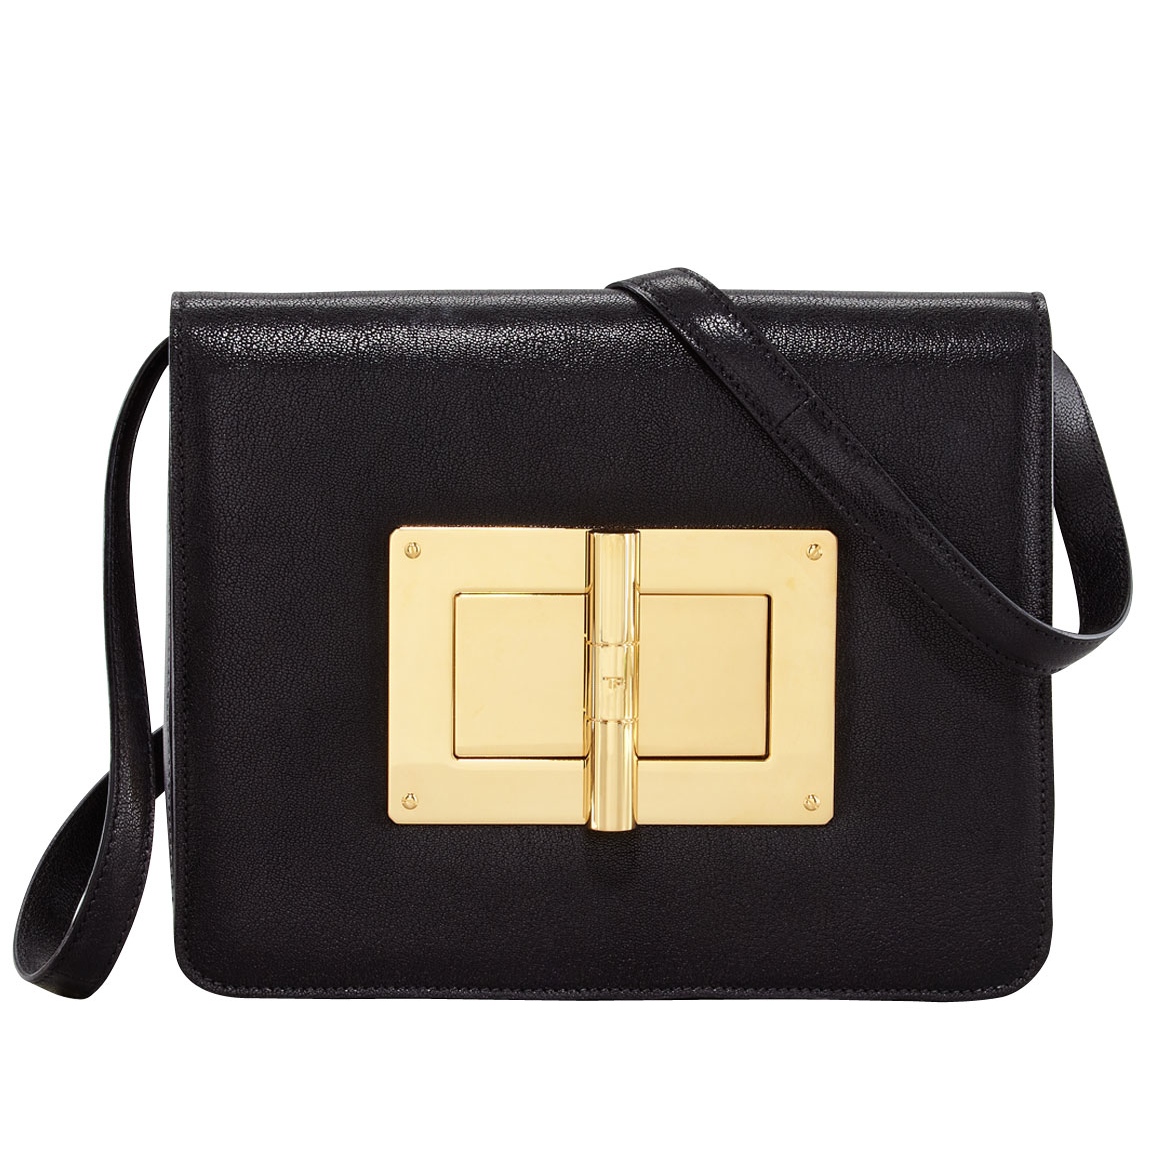
Now I’ve had my Tom Ford make up fix my next step is to buy a Tom Ford Large Kidskin Natalia bag! (Pictured below!)
Categories: Uncategorized


You look amazing! I loooove their lipsticks, the packaging is heavenly! Never tried any of their other products but will keep them in mind next time I go makeup shopping… Happy belated Anniversary! 🙂
LikeLike
Thank you very much for the compliments. It has made my day. Definitely worth just doing the make over if you have some where special to go. Sabrina xxx
LikeLike